App Details
How our app works
QR-CODE-JET is flexible and limitless. We modify the app flows according to your company's needs. We also integrate your desired colors, logo, preferred button shapes, as well as the desired text for all display ads.
The QR-CODE-JET, the ticket scanner app that leaves nothing to be desired. Request a corresponding offer.
On the basis of the following pictures we would like to introduce QR-CODE-JET to you.
The illustrations were taken from an example scenario.
INFO:
Actual screens and layouts will depend on the type and feature set within the personalized customer order.
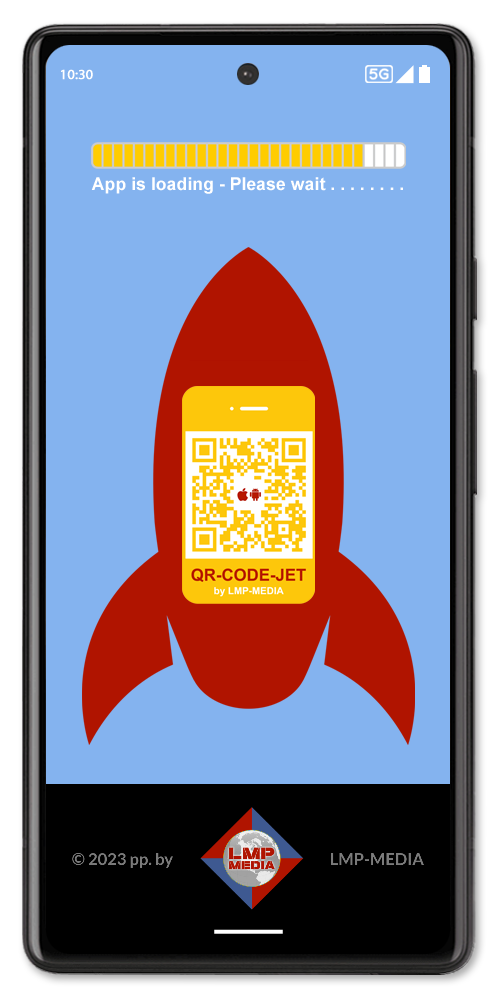
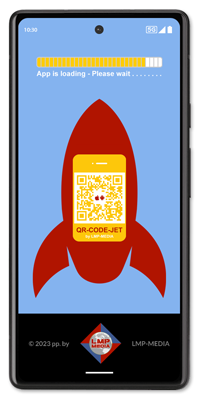
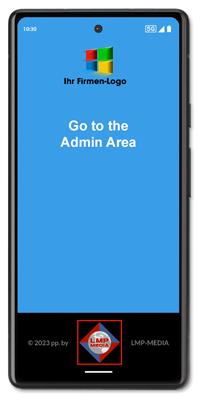
01) Screen: Loading app
After installing the app, click the app icon on your smartphone screen.
The app will be loaded.
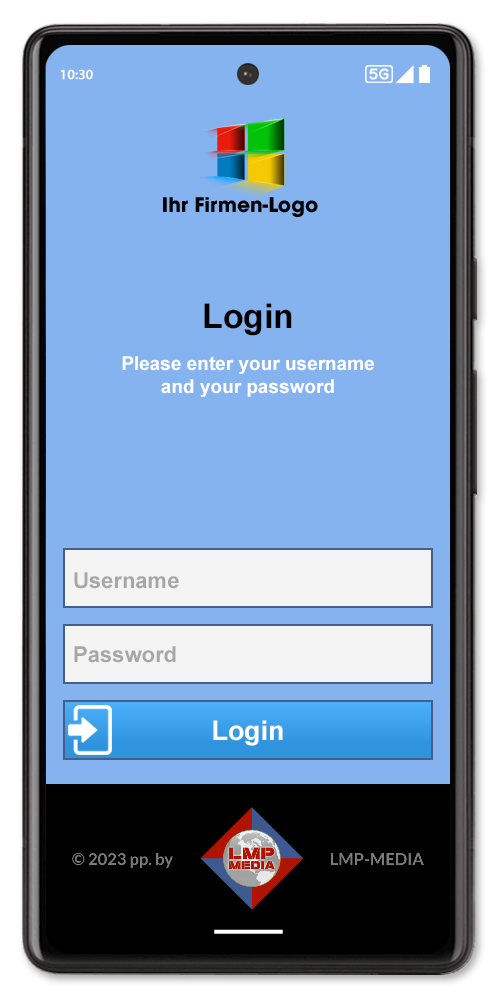
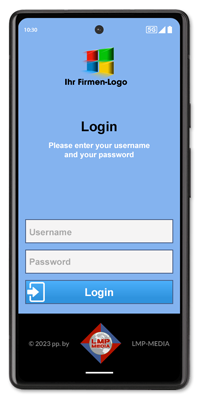
02) Screen: Login for API users
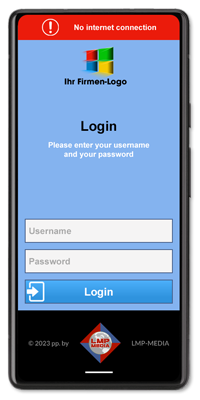
The first login screen appears only when QR-CODE-JET is to connect to the database via API interface.
Enter your API user data.
The app will internally save the data you entered. You will not have to re-enter this until you uninstall and then reinstall the app, if necessary.
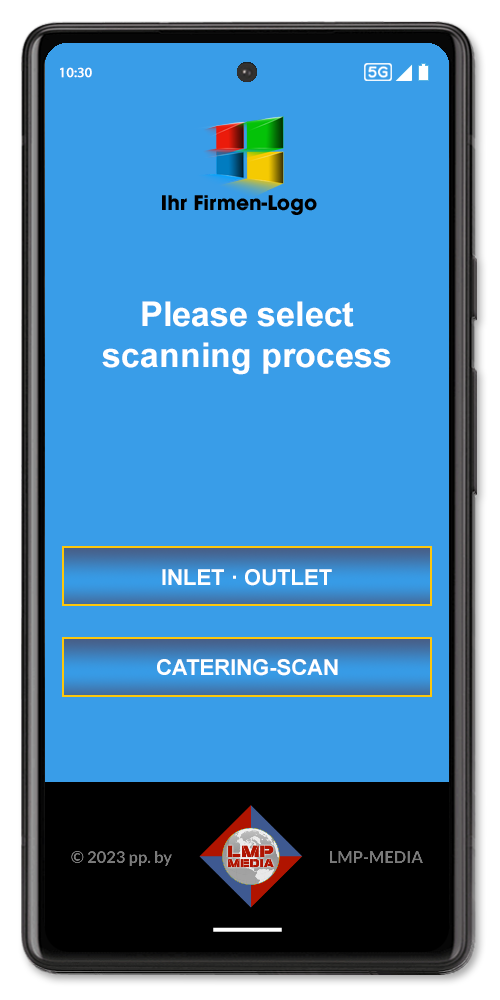
03) Screen: Scan type selection
This screen can appear if the app should optionally make several types of scan immediately available.
If only one type of scan is desired on the screen, activating and switching for this is done in the internal admin area (see figure below).
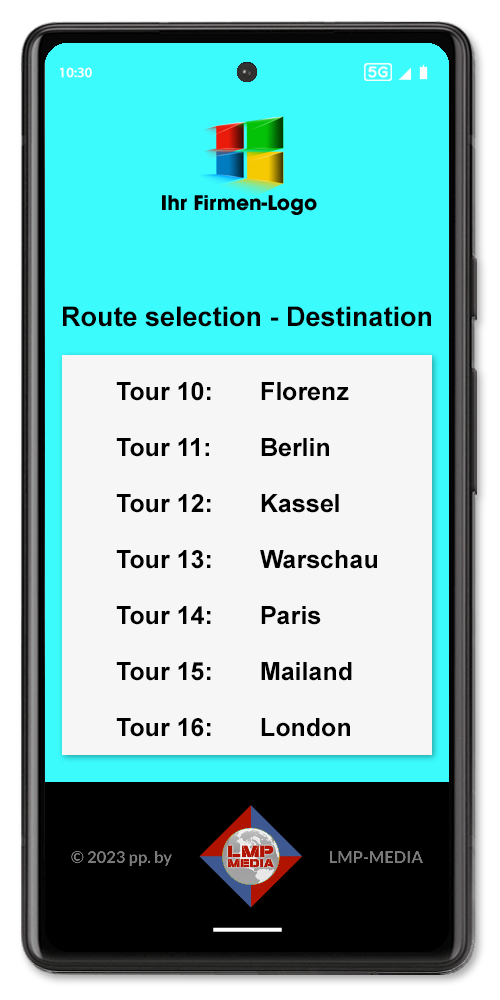
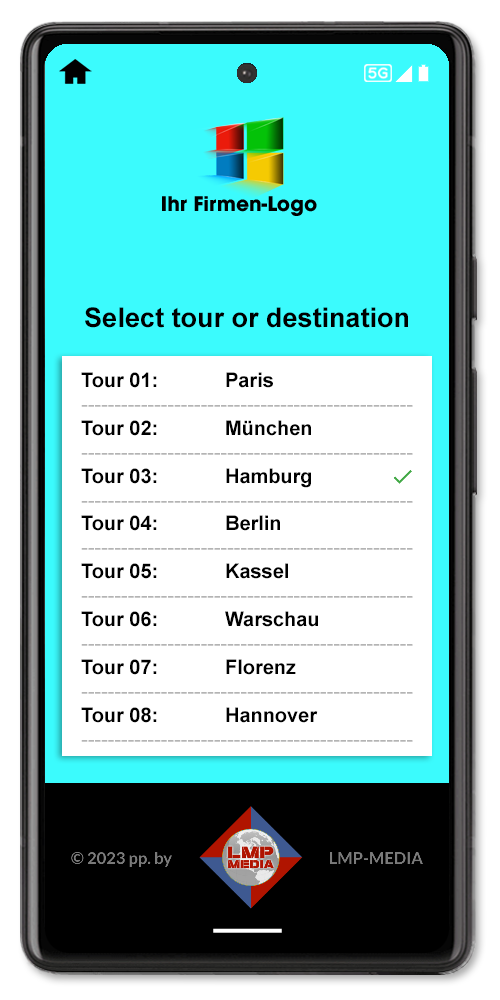
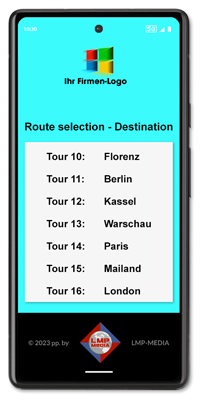
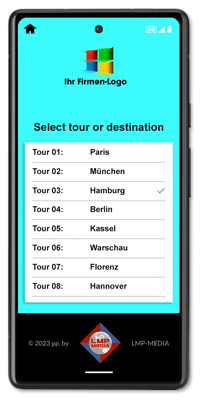
04) Screen: Scenario bus tours
Using this menu, the driver can select the route for which he has been assigned before starting the journey.
In this example, the app writes the scan data to a list previously loaded into the app
After selecting the route, the driver can start scanning.
Successful scans are stored internally in the list.
At the end of the tour (or even immediately before the start of the trip), the driver sends the internal list as a CSV file via email to the contractor's office.
The app automatically detects which email program has been defined as the default in the smartphone and sends the list as an attachment.
This gives the entrepreneur immediate access to the data and imports it into his management software.
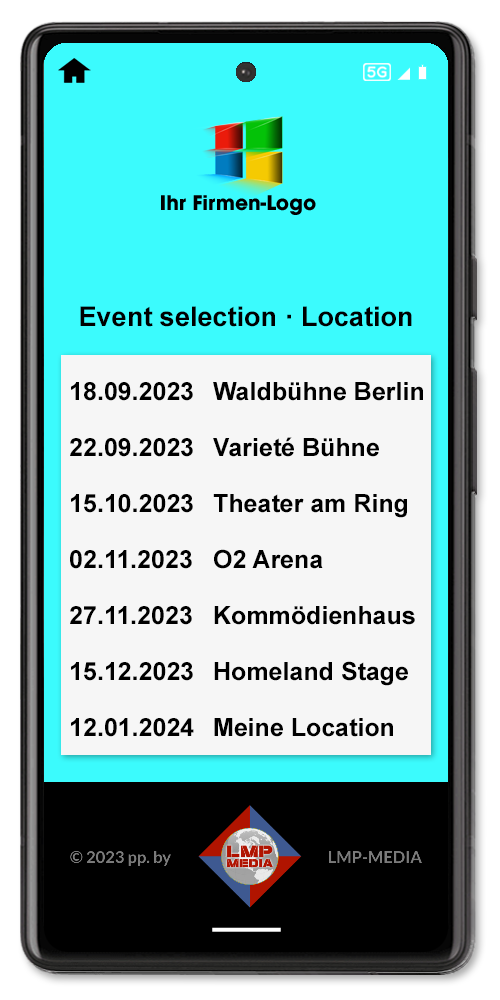
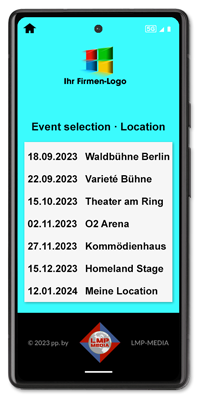
05) Screen: Scenario event organizer
Using this menu, the desired event is selected.
In this example, the app ONLINE first loads a ticket list into the smartphone via API access according to the selected event.
After selecting the event, scanning can be started.
The app looks in the list if there is a valid ticket code and if successful writes date and time stamp into the database of the organizer.
The process takes place in real time and lasts less than a second per scan (depending on the speed of the organizer's WLan network).
The organizer thus always has an up-to-date overview of the tickets actually used.
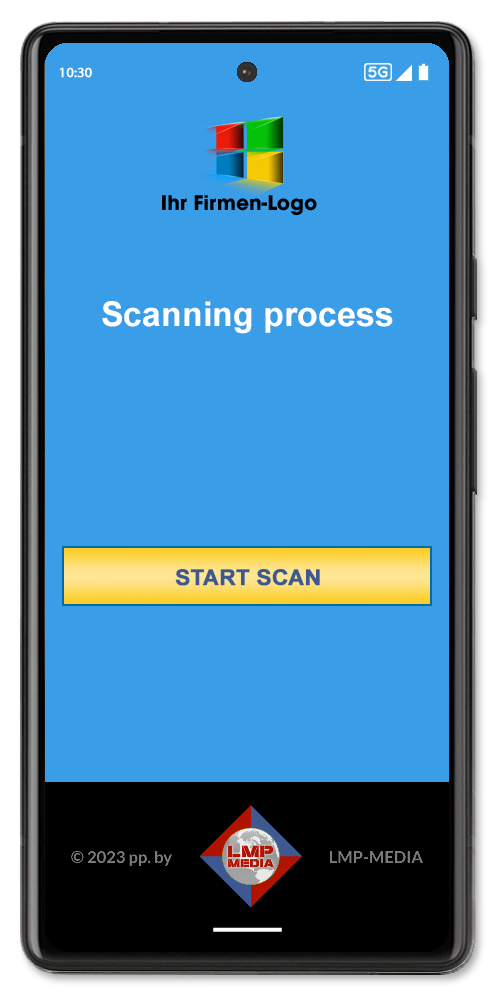
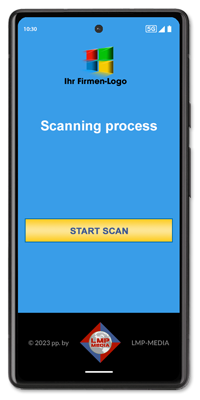
06) Screen: Scanning
When you press the "START SCAN" button, the camera starts the scan function.
The app will remain in scan mode until you press the "Back Button" on the screen on your smartphone.
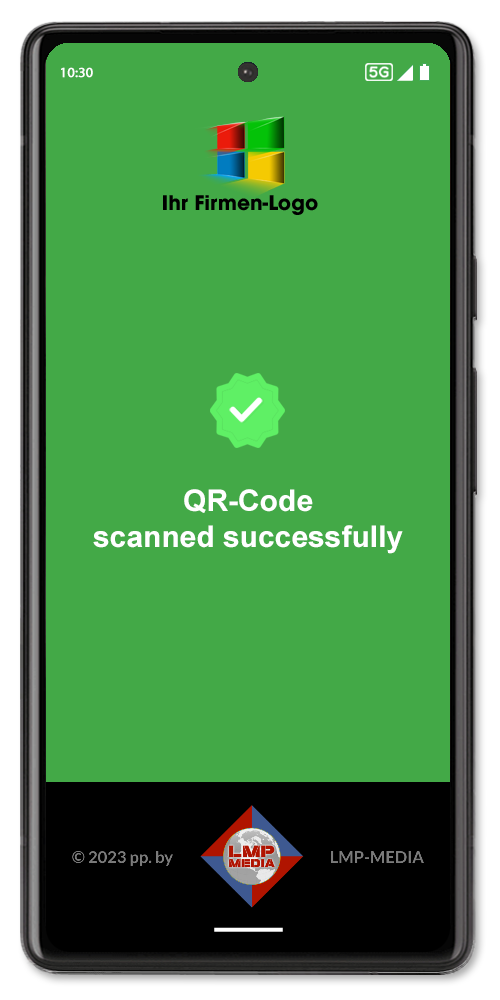
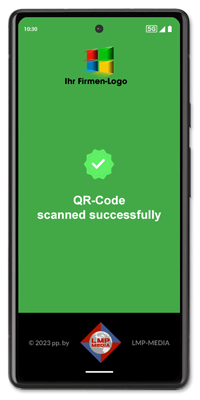
07) Screen: Scan successful
After each successful scan, the green screen appears with the message: "QR code scanned successfully".
After this, the app will switch back to scan mode within 1 second.
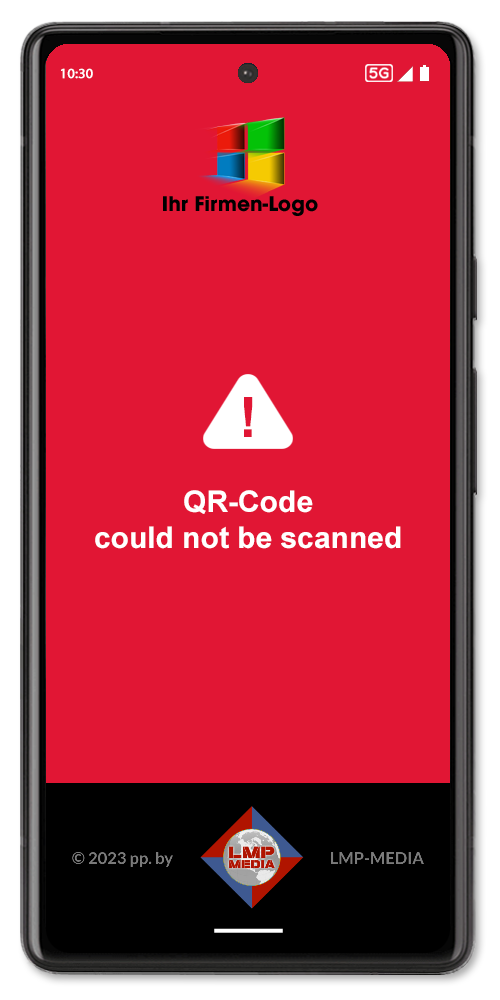
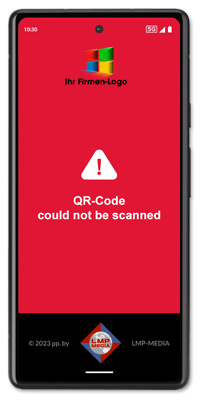
08) Screen: Scan error
When an invalid QR code is scanned, the red error screen appears.
The text message is according to the customer's specification.
09) Screen: Admin area
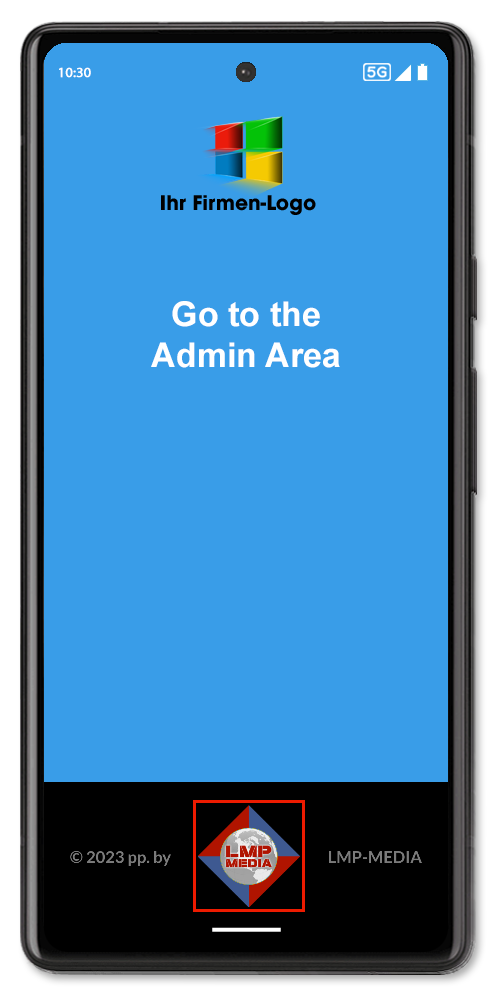
No matter on which screen you are, you can always get to the admin area if you wish.
To do this, click 3 times on the LMP logo (see red border below).
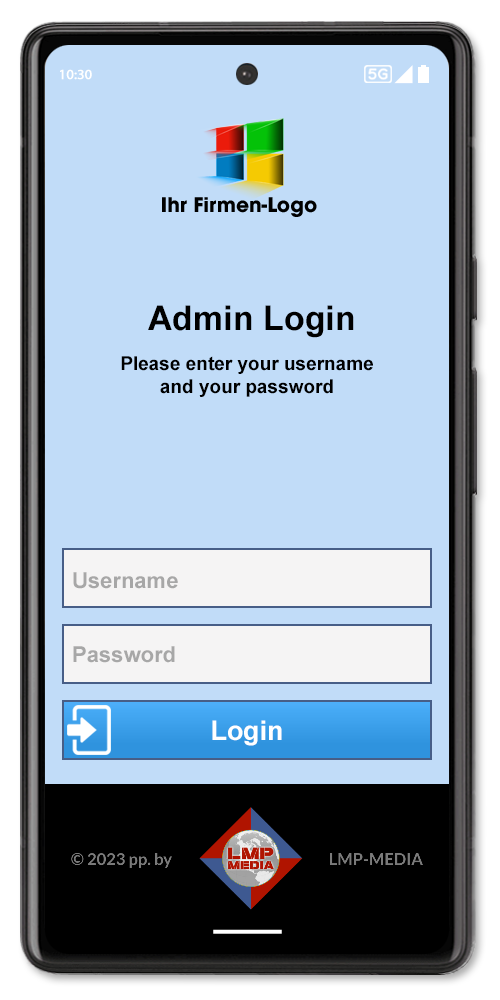
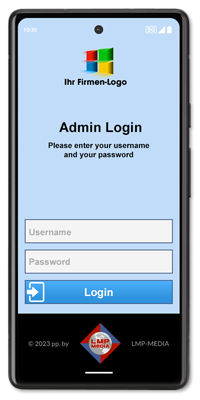
10) Screen: Login Admin area
The admin area is of course locked against unauthorized access.
When the app is delivered, you will receive standard access data from us. You can then change these in the admin area.
INFO:
There is no "forgot password" function for security reasons. With this, theoretically, each app user could create a new account.
If they ever forget the login details to the admin area, you have to uninstall the app and then reinstall it.
But this is not a big problem - after all, the total process takes no more than a minute.
After the reinstallation, you can log in again with the default credentials we sent you.
11) Screen: Admin area standard
In the standard area, load the ticket list for your destinations or events from the current calendar year.
Select the desired destination or event. When pressed, a green check mark will automatically appear. This confirms the scan process for the selected option.
Exit the screen by pressing the hoe button in the upper left corner.
You will then be in scan mode.
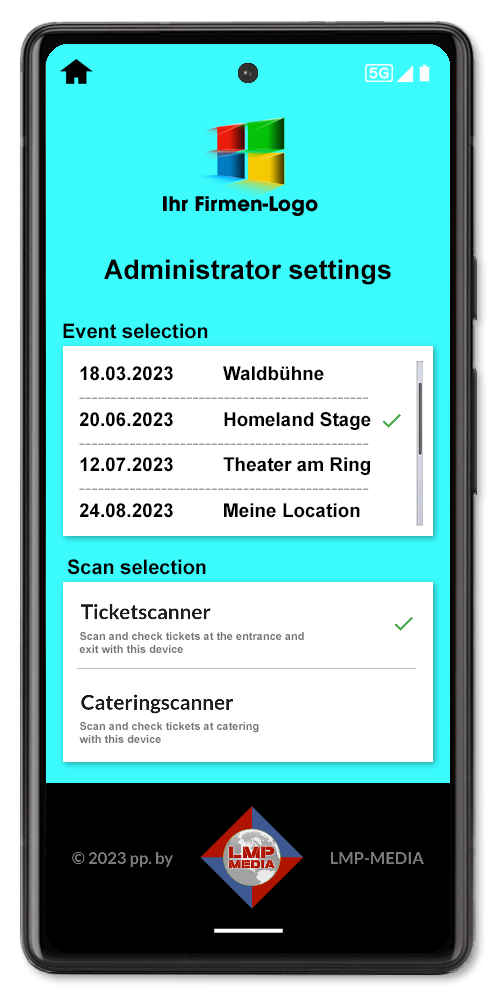
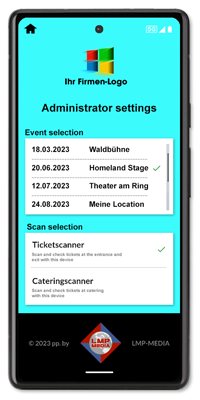
12) Screen: Admin area extended
The extended admin area is primarily intended for event organizers, trade fairs and conventions.
Select the desired event and specify whether the app should scan tickets or catering authorizations, for example.
A green check mark will be placed as confirmation for the selected option.
Exit the screen via the home button in the upper left corner.
13) Screen: No connection
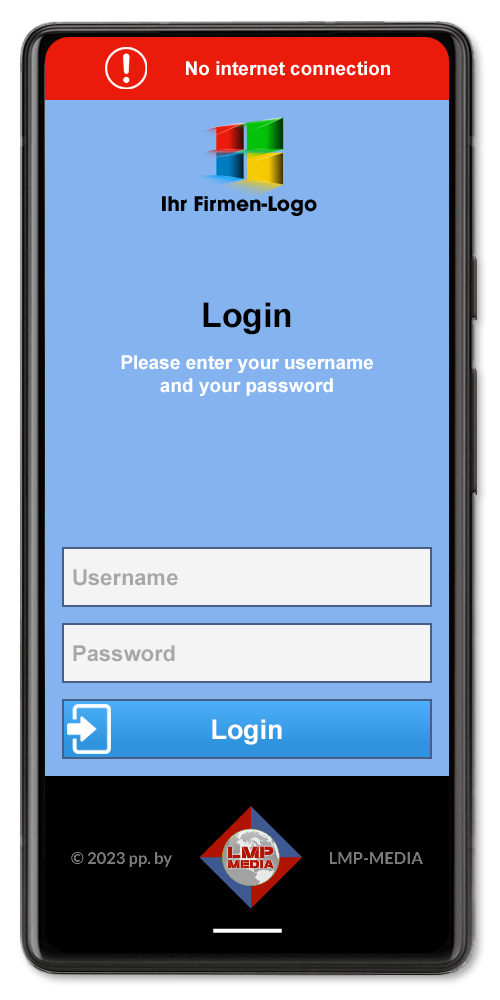
If you make the app scan queries online (via WLan or mobile data) it may happen that the network fails. In this case a red bar is displayed at the top with the note: "No internet connection".
This means that during this time the app will cache all scan results internally and the moment the internet connection is restored, it will automatically synchronize the data with the server via the API interface.
